Adjust Basic Player Settings
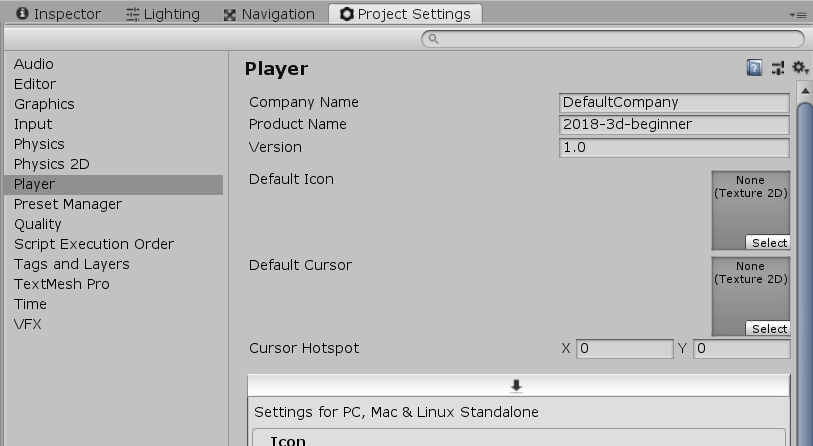
The application you create from the Editor to distribute your game to users is called the Player. Before creating the Player, let’s adjust some Player Settings: 1. In the top menu bar, go to Edit > Project Settings and select Player. This is where you can set some of the information about your game.

2. The Company Name is used to create the folders where the files created for built games will be stored. You can change this if you want, but that isn’t required for the build process to work. 3. The Product Name is the name of your game. Change this name to “John Lemon’s Haunted Jaunt”. If you’d like to learn more about the general Player Settings, you can find more information in the documentation.4. The downward arrow button at the top of the next section here means that all the settings in this section are for PC, Mac & Linux Standalone platforms. If you installed support for other platforms when installing Unity, you will see multiple buttons in that toolbar:

Each section can be clicked on to expand it and show its settings. We will only highlight a couple here, but you can find an explanation of every setting in the documentation on Player settings for Standalone platforms.
Adjust Resolution and Presentation Settings
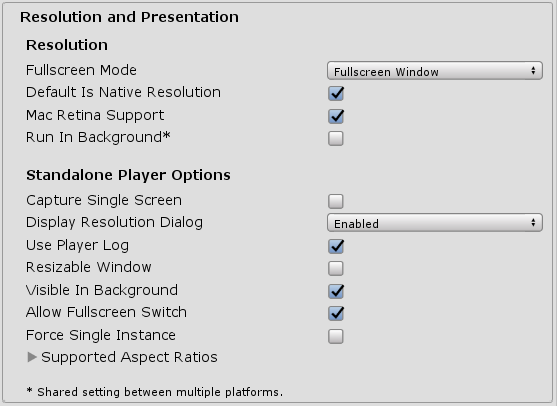
Let’s adjust how your game will display to players: 1. Click on the Resolution and Presentation section to open it.

2. Resolution allows you to define the default mode that the game starts in. The Run In Background setting determines whether your game continues to run if the window/application doesn’t have the focus. For example, when that option is disabled and the person playing the game opens a web browser and browses the web while playing, the game will pause until they return to the game.
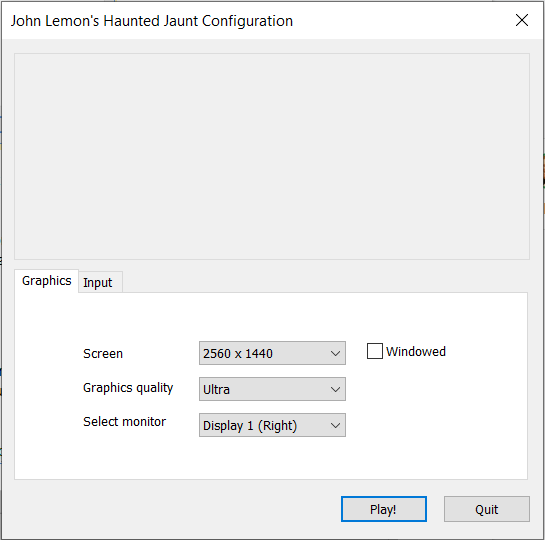
3. In the Standalone Player Options subsection, make sure that Display Resolution Dialog is set to Enabled. This allows you to show a window when the user launches the game which lets them select the resolution:

4. In the Splash Images section, you can change the image shown at the top of the above dialog (Application Config Dialog Banner) or the logo shown when the game starts (Logos). We don’t need to adjust any more settings — now you’re ready to build the game.